What Happens During a Professional Spray Foam Installation?
Curious about the spray foam installation process? This comprehensive guide walks you through every step, from initial consultation to final cleanup, so you know exactly what to expect.
If you've been considering spray foam insulation for your home, one question likely stands out above the rest: What actually happens during the installation?
For many homeowners in Springfield and surrounding Missouri communities, uncertainty—not cost—is the biggest barrier to moving forward. The idea of contractors applying expanding foam inside your home can sound disruptive or intimidating if you've never seen the process firsthand.
The reality is far simpler and far more controlled than most people expect. A professional spray foam installation follows a clear, methodical process designed to protect your home, minimize disruption, and deliver long-term energy savings. Here's exactly what to expect, step by step.
Step 1: Initial Consultation and Project Planning
Every professional spray foam installation begins long before any equipment arrives at your home. The process starts with an on-site evaluation.
**During this visit, the insulation team will:**
Inspect the areas being insulated (attic, crawl space, walls, basement, or garage)
Identify air leaks, moisture concerns, and thermal weak points
Measure square footage and assess framing conditions
Recommend the appropriate type of spray foam based on your home's needs
This step ensures the insulation solution is tailored to your home—not a one-size-fits-all approach.
Step 2: Scheduling and Pre-Installation Preparation
Once the plan is finalized, the installation is scheduled at a time that works best for you. Most residential projects are completed in one to two days, depending on size and scope.
**Before installation day, homeowners are typically advised to:**
Remove stored items from the work area
Secure pets away from the installation zones
Arrange for temporary absence during active spraying if recommended
Clear communication at this stage helps eliminate surprises and ensures a smooth experience.
Step 3: Job Site Protection and Safety Setup
On installation day, the crew arrives with professional equipment and materials. Before any foam is applied, extensive job site protection is put in place.
**This includes:**
Covering floors, walls, and nearby surfaces
Sealing off non-work areas
Setting up ventilation and safety controls
Preparing protective gear for technicians
Safety and cleanliness are top priorities, and professional installers take steps to ensure the rest of your home remains undisturbed.
Step 4: Surface Inspection and Final Prep
Before spraying begins, the installation team conducts a final inspection of the application areas.
**They will:**
Check for moisture or surface issues
Confirm framing and cavity conditions
Ensure surfaces are ready for proper adhesion
Address any last-minute concerns
Proper preparation is critical. Spray foam performs best when applied to clean, dry, and stable surfaces.
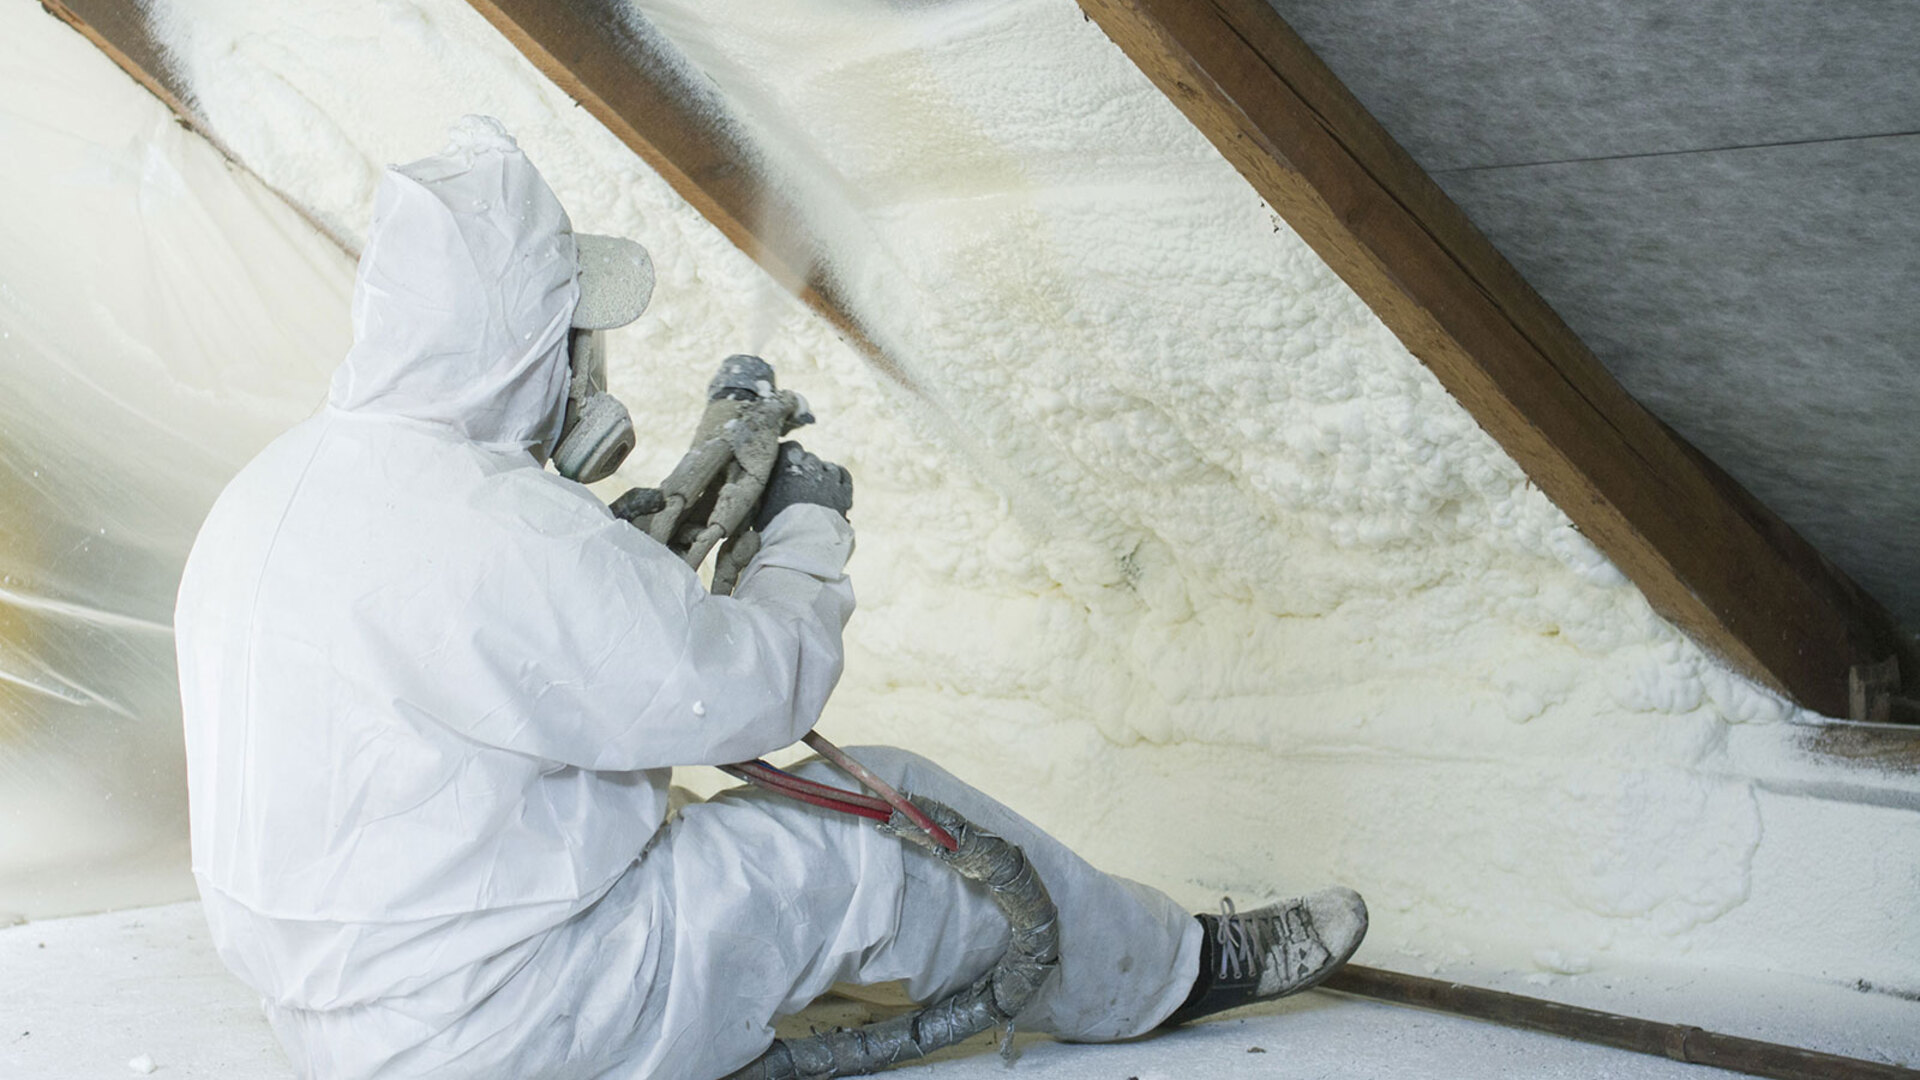
Step 5: Precision Spray Foam Application
This is the stage most homeowners are curious about—and it's also the most carefully controlled.
Using professional equipment, technicians apply the spray foam directly into cavities, roof decks, or exposed surfaces. The foam expands on contact, filling gaps, cracks, and voids that traditional insulation often misses.
**During application:**
Foam is applied in controlled layers
Thickness is carefully monitored
Coverage is adjusted based on area and purpose
Expansion occurs within seconds
This process creates a seamless air barrier that blocks heat transfer and air leakage simultaneously.
Step 6: Curing and Ventilation
Once applied, spray foam begins curing almost immediately. While initial expansion happens quickly, full curing occurs over a short period.
**During this time:**
Ventilation systems help circulate fresh air
Technicians monitor curing conditions
The area remains sealed to ensure optimal results
After curing, the foam becomes inert, stable, and durable—ready to deliver long-term performance.
Step 7: Trimming and Finishing Work
After the foam has cured, any excess material is carefully trimmed to ensure a clean, professional finish.
**This step ensures:**
Walls and surfaces are flush
Drywall or finishing materials can be installed easily
The insulation meets design and code requirements
Attention to detail at this stage helps maintain both performance and aesthetics.
Step 8: Quality Check and Final Inspection
Before the project is considered complete, the installation team performs a thorough quality inspection.
**They verify:**
Proper foam depth and coverage
Consistent application across all areas
Clean job site conditions
Completion of the planned scope of work
This final walkthrough ensures the insulation meets professional standards and homeowner expectations.
Step 9: Cleanup and Job Site Restoration
One of the biggest concerns homeowners have is mess. Professional spray foam installation is designed to be clean and efficient.
**After the work is done:**
Protective coverings are removed
Work areas are cleaned thoroughly
Tools and materials are packed up
The home is returned to normal condition
Most homeowners are pleasantly surprised by how little disruption occurs during the process.
Step 10: Post-Installation Benefits You'll Notice Right Away
Once installation is complete, the benefits begin almost immediately.
**Homeowners often notice:**
More consistent indoor temperatures
Reduced drafts and hot spots
Quieter indoor spaces
Lower HVAC runtime
Improved indoor comfort
Over time, energy savings become evident through lower utility bills and reduced wear on heating and cooling systems.
Why Professional Installation Makes All the Difference
Spray foam insulation is not a DIY project. Proper application requires experience, training, and specialized equipment. Professional installers understand how to balance air sealing, insulation performance, and safety.
**Professional installation ensures:**
Maximum energy efficiency
Long-term durability
Code compliance
Peace of mind
Final Thoughts: Confidence Through Clarity
Understanding what happens during a professional spray foam installation removes uncertainty from the decision-making process. From planning and preparation to cleanup and long-term comfort, every step is designed to deliver efficiency without disruption.
For Springfield homeowners seeking lasting comfort, lower energy bills, and a healthier indoor environment, professional spray foam insulation is a proven solution—installed through a process that's far more straightforward than many expect.